


Getting Started
1) Open Pixlr Advanced
2) Click to Create a new image and create 800x600 sized image. (The 800x600 is optional)


Writing The Text
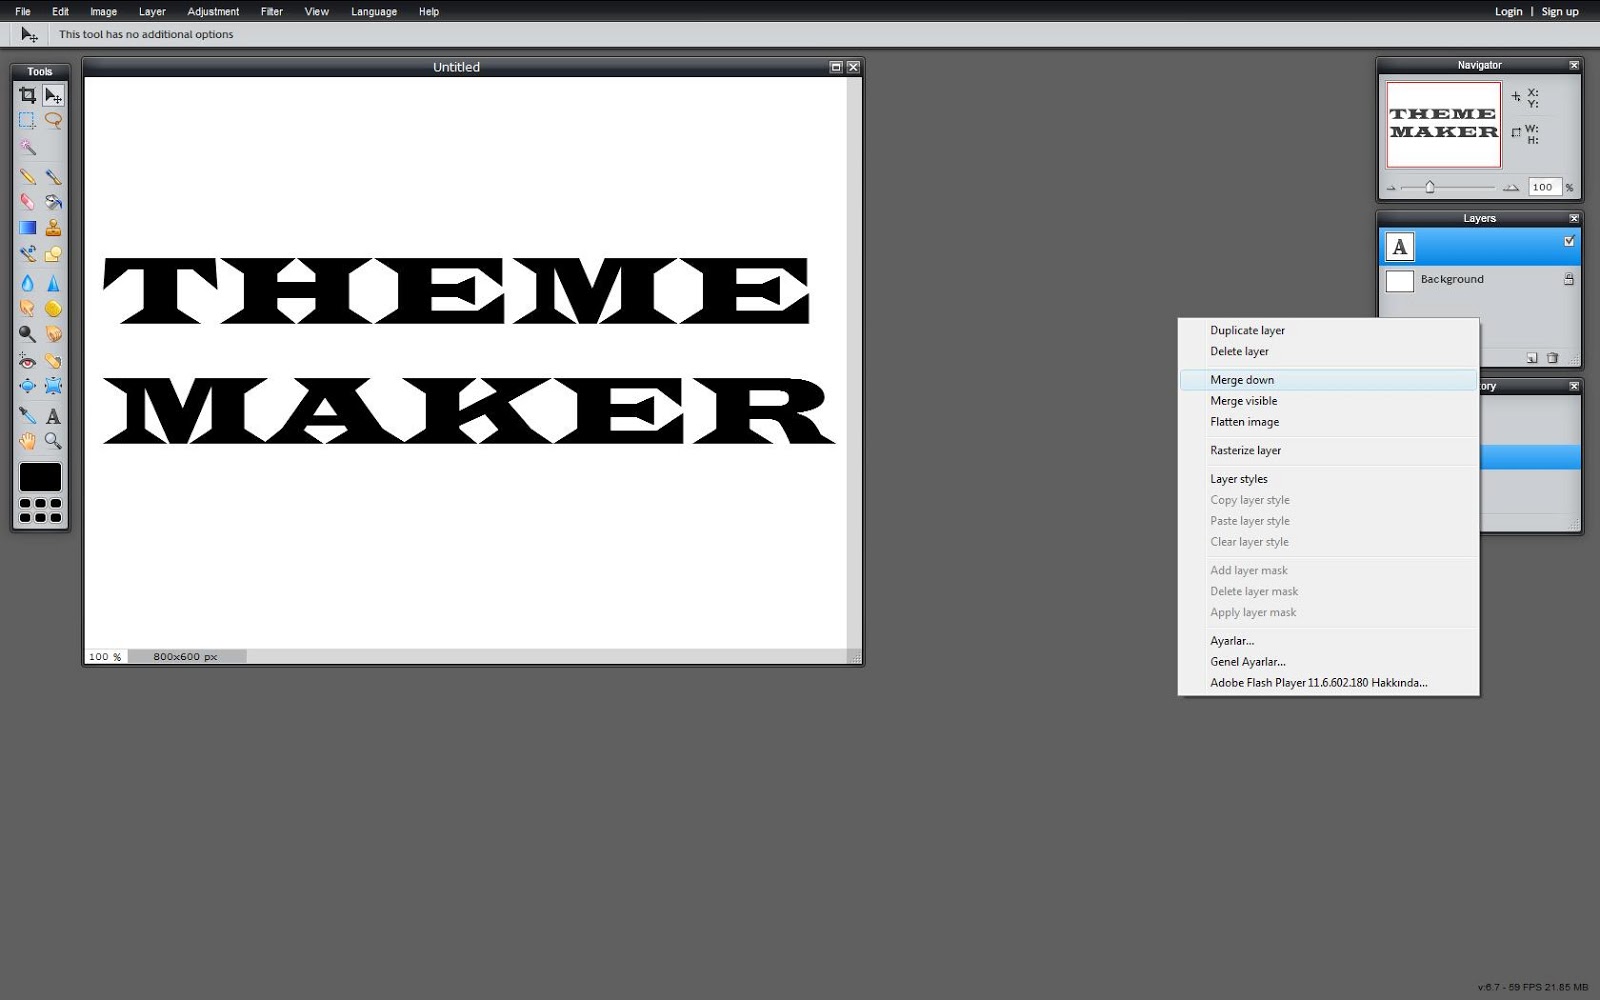
1) Click Type Tool (T) on the Tool Menu and add the text that you want to make patterned. (Wide Latin, size: 103)


2) Use Move Tool (V) to put the text at the center of the image
3) Go the the Layers Menu on the right side of the screen between the History Menu and Navigator. Right Click to the Layer which contains your Text and select Merge Down

4) Then, double click to the locker in the Layers Menu, near the Background text. It should turn to a checked box
Adding The Pattern Image
1) Go the the Layer Menu on the top of the Website which is in the black stripe near the Image Menu. After that, open an image from your computer or URL. My pattern's URL: http://3.bp.blogspot.com/-TgyfpYbTFz0/UBjatFWB7_I/AAAAAAAABg4/vW8CZU_NuW8/s1600/Hawaii-beach.jpg

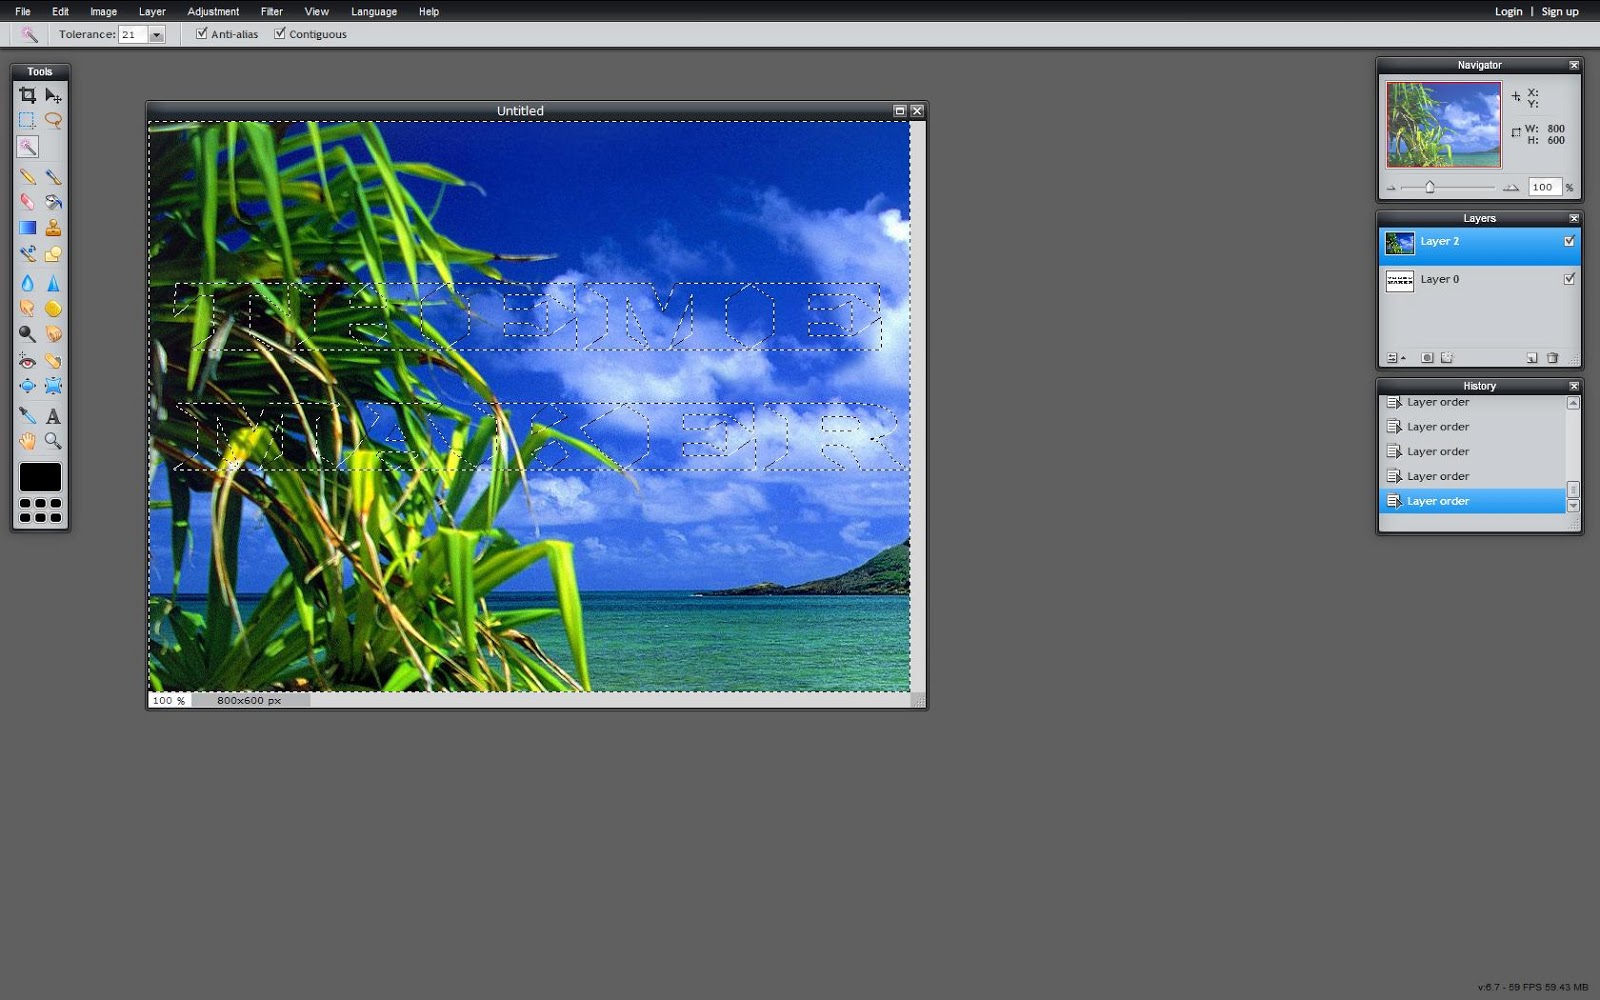
2) There will be Layer 2 and Layer 0 come up in the Layers Menu on the right side of the screen. Go to Layer 0 which contains your texture and surround the Text with using Wand Tool (W)
TRICK: If you have a letter like A and R, Do not forget to surround the inner part of it with using Shift Button and Wand Tool (W)

3) Now, Scroll the Layer 2 to the Layer 0's place with grabbing and dropping with your mouse.


4) When you get a image as in the picture, Use the Eraser Tool (E) and start to erase the background.

1) Go to the Edit Menu and press Deselect All (Ctrl + D)
2) Use the Layer Styles to give shadows of your text.

3) In the Layers Menu, right click to Layer 2 and press Merge Down.
4) Save it in PNG format from the File Menu.


2) There will be Layer 2 and Layer 0 come up in the Layers Menu on the right side of the screen. Go to Layer 0 which contains your texture and surround the Text with using Wand Tool (W)
TRICK: If you have a letter like A and R, Do not forget to surround the inner part of it with using Shift Button and Wand Tool (W)

3) Now, Scroll the Layer 2 to the Layer 0's place with grabbing and dropping with your mouse.

4) When you get a image as in the picture, Use the Eraser Tool (E) and start to erase the background.

Details
1) Go to the Edit Menu and press Deselect All (Ctrl + D)
2) Use the Layer Styles to give shadows of your text.

3) In the Layers Menu, right click to Layer 2 and press Merge Down.
4) Save it in PNG format from the File Menu.


0 komentar:
Post a Comment